


Rapid Action® Turning Direction Diagrams
Please read this in conjunction with our section: What is Rapid Action®?
A common question we are asked is "what direction will our lever or Rapid Action® taps turn?"
The diagram below should help explain this, and is the current factory standard setting as of May 2015.
Tip: When ordering a specific Rapid Action® top assembly and you want to confirm a turning direction you can quote the Figure X.X number from these diagrams in the order notes. Our assembly section uses the same references.
Front Facing View (e.g. Wall Top Assemblies)
If ordering spare parts please do not assume 'left & right' or 'hot & cold' as in the real world spindles can be installed on opposite sides.

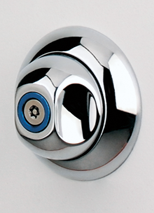
| |
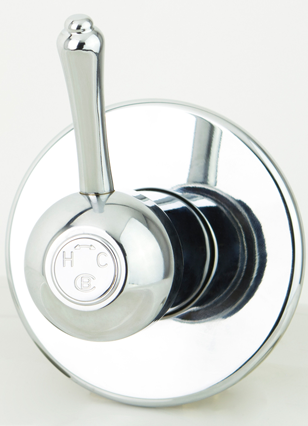
Top Down View (e.g. Basin & Vanity Top Assemblies)
If ordering spare parts please do not assume 'left & right' or 'hot & cold' as in the real world spindles can be installed on opposite sides.

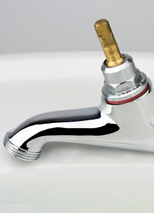
Another way to identify the bonnet and spindle turning direction is a marking groove around the corners of the bonnet's base square section (the square where you put the spanner for installation).
A left hand threaded bonnet and spindle will have a horizontal groove line on each corner of the square.
As a guide:
Ranges made with Rapid Action® bonnets & spindles that solely have right hand threads (unless specially requested otherwise).
- Bellevue with Rapid Action Upgrade
- CB Ideal Seaview
- Celestial with Rapid Action Upgrade
- Gaol Safe (BA2243 & BA2411)
- Heritage with Rapid Action Upgrade
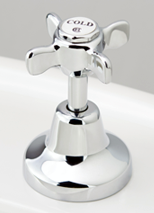
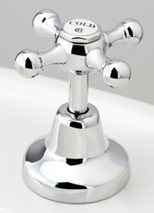
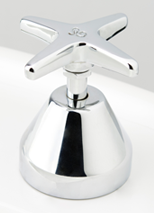
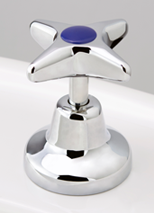
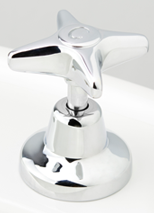
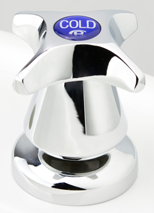
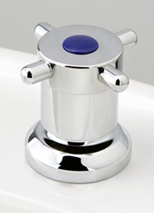
- Roulette (cross handle) with Rapid Action Upgrade
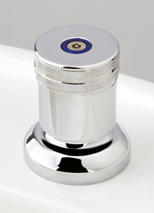
- Torrens Capstan
- Torrens Knurled
Ranges that are made with both left hand and right hand threads.
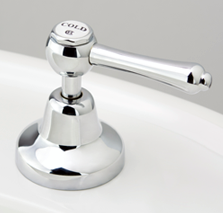
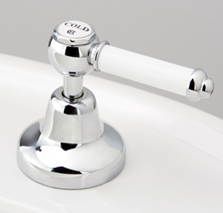
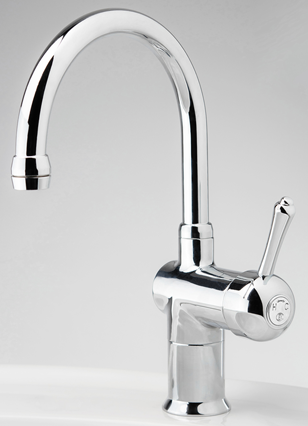
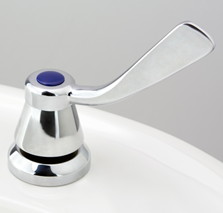
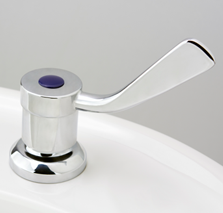
- Celestial Lever
- Roulette Lever
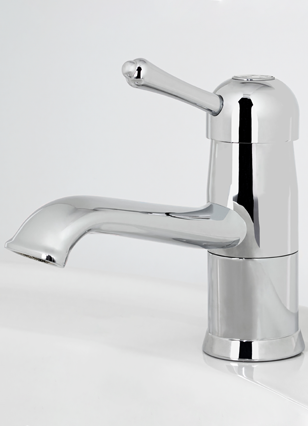
- Torrens Lever
- Torrens Flared Lever